Mags Riordan of Bumblebee Farm continues to guide us all through the planning, planting and caring of a bed for cut flowers. By the time summer arrives the bed should boast an abundance of pollinator-friendly flowers ready for cutting and enjoying.
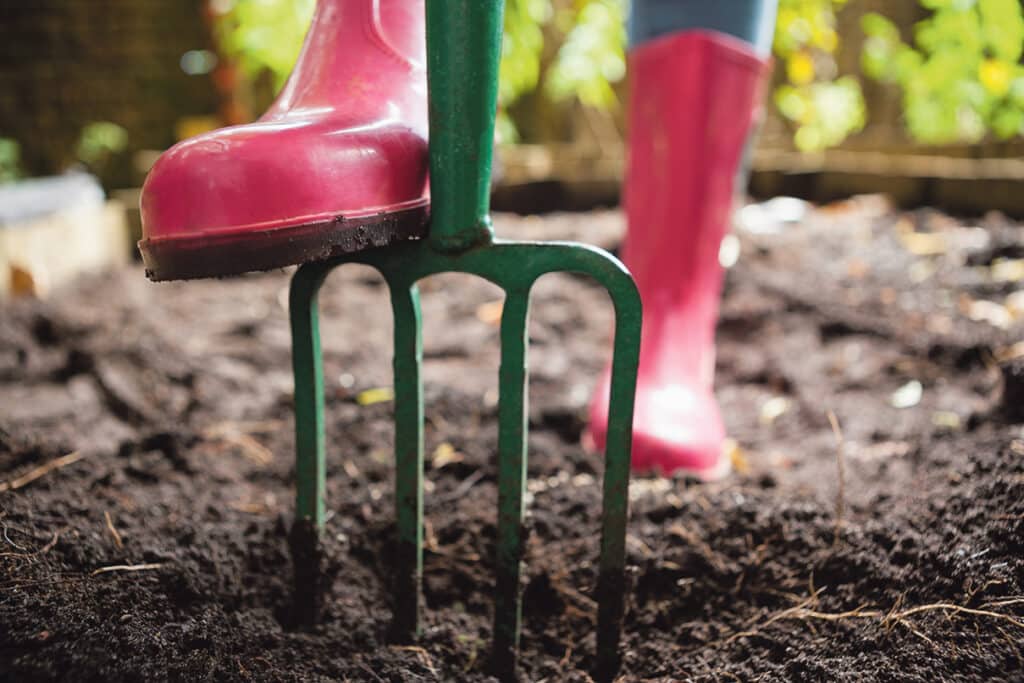
This month it’s all about bed preparation. This is the foundation for your cut flower patch and will reward you with beautiful pollinator friendly flowers for months over the summer. If you’re new to this, do some warm up exercises and stretching first; you don’t want to injure yourself before you ever get started. At this stage all you’ll need is a mattock (It’s like a pickaxe with a wider flat end) garden fork and rake. A good digging fork will be important, and I find one that has a handle is easier on my back.
Having decided where you’re putting the bed, we do recommend an out of view spot in full sun because this is a utilitarian bed, which you’ll be cutting from, not creating to admire in all its glory. It’s best to measure the plot and mark it out with stakes and string. Don’t be tempted to make it any wider than 4ft/120cm, as you won’t be able to reach the flowers in the middle to harvest them. Cut into the grass, outlining the edge and then cut across in squares. Using the mattock blade makes it easier to lift the sods and these can then be placed in an out of the way place, grass-to-grass and earth-to-earth – it will break down into beautiful loam in about a year. Next, with a fork dig down about the fork depth if you can and break up the clods; you can use the back of the fork to help, removing all roots, especially perennial ones, as these will regenerate otherwise.
Next add two decent barrow-loads of well-rotted manure. If you have access to farm-yard-manure so much the better (make sure it’s at least a year old or it will rob nitrogen from the soil while decomposing) but if not, then Gee-up is a fantastic organic horse manure, all rotted down and ready to use and available in most garden centres. Also add a slow-release fertiliser like chicken pellet, mixing in well. When you feel it’s evenly distributed, level it and cover the area with black mypex or some dark covering, but not opaque, as this will let the light in and weed seeds can germinate.
It’s best to leave the bed settle for a month before planting. The bed can be prepared anytime, as long as you allow settling in time. If you’re not planning on planting the bed until May, then it’s perfectly fine to wait until April to prepare.
If you’re using an old bed, then just clear it and lightly dig over and follow the above steps.
The plan is available in our blog post ‘Ollie’s Garden’ on our website, or we can email it to you.
If you’d like to join us on Instagram on February 14 at 4pm, we will be preparing our plot and will have a live Q&A afterwards.
Here’s to growing cut flowers, community and helping our pollinators.
Bee Kind
Mags